
How to Make Beeswax Wraps at Home (Oven Method)
Make reusable food wraps from cotton scraps and beeswax. Materials, the oven method step by step, how to use and clean them, and how to refresh old wraps.
On this page
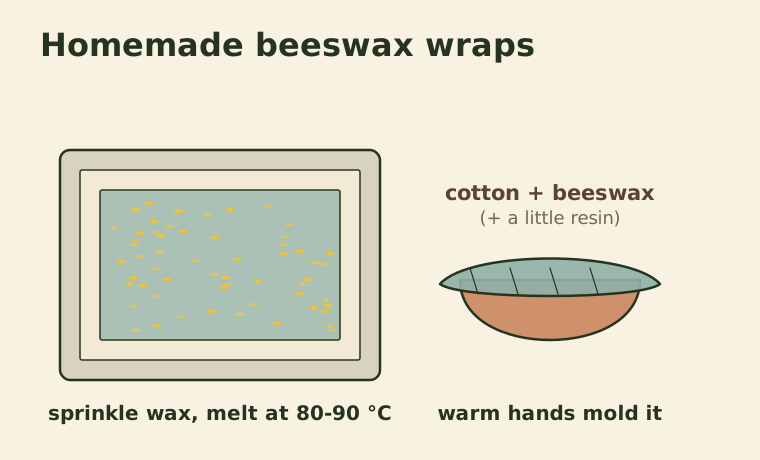
Beeswax wraps are pieces of cotton fabric coated in wax. Warmed by your hands, they become slightly sticky and mold around bowls, cheese, bread and cut fruit, then hold their shape as they cool. They are a reusable alternative to plastic cling film, and with care, one wrap can last about a year.
Ready-made wraps can be expensive, but making your own is quick and is a good way to use up scraps of cotton fabric.
What you need
- 100 percent cotton fabric, thin and tightly woven, such as old shirts, pillowcases or quilting cotton. Avoid stretchy knits like t-shirt fabric, which don't hold their shape well.
- Beeswax, grated or as pellets. Around 15 to 20 grams for a 25 by 25 centimeter wrap.
- Optional: a little pine resin (for more cling) and a teaspoon of jojoba or coconut oil (for flexibility). Wraps work without them, but they stick better with resin.
- Pinking shears or regular scissors.
- A baking tray and baking paper.
- A clean paintbrush you don't mind dedicating to wax.
Sizes to make
| Size | Good for |
|---|---|
| 20 × 20 cm | Half a lemon or avocado, small jars, cheese pieces |
| 25 × 25 cm | Small and medium bowls, sandwiches |
| 33 × 33 cm | Large bowls, half a loaf of bread |
| 35 × 45 cm | Whole loaves, large dishes |
Cutting the edges with pinking shears reduces fraying.
Oven method, step by step
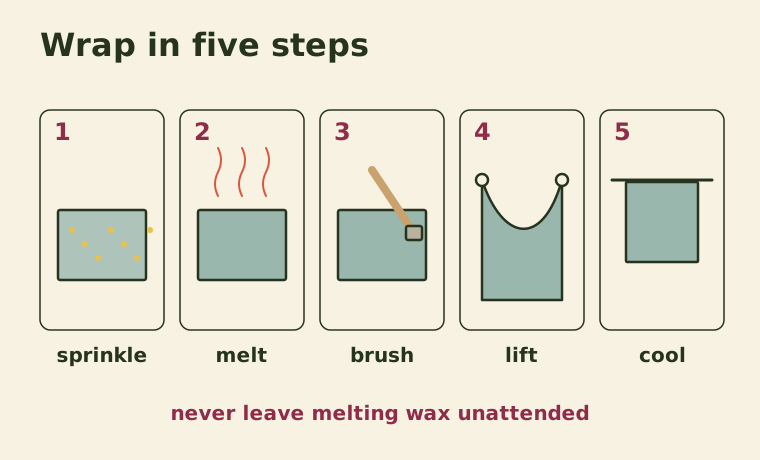
- Preheat the oven to a low heat, around 80 to 90 °C. Beeswax melts at roughly 62 to 64 °C; you only need enough heat to melt it, not to cook it.
- Line the baking tray with baking paper and lay a piece of fabric flat on top.
- Sprinkle the wax evenly over the fabric. If using resin and oil, sprinkle finely crushed resin and a few drops of oil over it too. Go lightly; it's easier to add more than to remove excess.
- Put the tray in the oven for 3 to 5 minutes, until the wax has completely melted.
- Brush the wax quickly across the fabric to spread it evenly into the edges. Dry patches mean you need a little more wax; pools mean too much.
- Lift the fabric by two corners and hold it up for 10 to 20 seconds. It cools and stiffens almost immediately.
- Hang it to finish cooling on a clothes rack or line, or lay it flat on clean baking paper.
Safety notes
- Never leave melting wax unattended, and keep the oven temperature low. Wax overheated far above its melting point can smoke and is flammable.
- Use a dedicated tray and brush, or line everything well, because wax is hard to clean off.
- Handle the hot fabric by the corners only, and let it cool before folding.
- If someone in your household has a bee product allergy, consider plant-wax alternatives such as candelilla wax.
How to use beeswax wraps
Hold the wrap over a bowl or around food and press it into shape with your hands. The warmth softens the wax so it clings, and it holds that shape as it cools.
Great for: bowls of leftovers, cheese, bread, half-used vegetables and fruit, sandwiches, covering jars.
Avoid: raw meat and fish (wraps can't be washed in hot water to remove bacteria), hot food (melts the wax), and use in the microwave or oven.
Cleaning and care
- Wash in cool water with a little mild dish soap, using a soft cloth or sponge.
- Hang to dry, away from heat.
- Never use hot water or a dishwasher, which strips the wax.
- Store folded or rolled in a drawer, away from the stove and heaters.
Refreshing old wraps
After months of use, wraps lose their cling and develop creases where the wax has worn away. To restore them, put them back on a lined tray, sprinkle on a little fresh wax, and repeat the oven steps. This can be done several times.
When a wrap finally wears out, cut it into strips and use it as a fire starter for a wood stove or fire pit if you have one, or put the cotton in the compost. Pure cotton coated with only beeswax will break down slowly in a home compost pile.
How they fit into a lower-waste kitchen
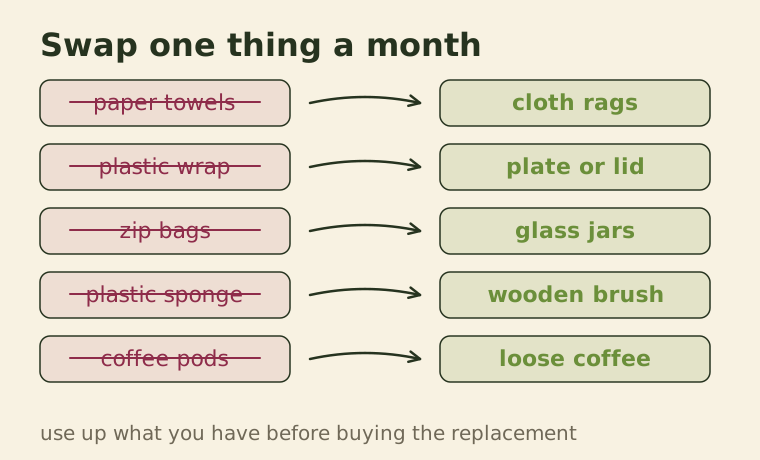
Beeswax wraps are one part of replacing single-use plastic in the kitchen, alongside glass containers, lids and plates over bowls. They're best for the jobs where a lid won't fit. Our list of zero waste kitchen swaps covers the others, and if you have more fabric scraps left over, our guide to upcycling old t-shirts has plenty of ideas for them.
Keep reading
-
 Reuse & Upcycling
What to Do With Old T-Shirts: 8 No-Sew and Simple-Sew Upcycling Projects
Turn worn-out t-shirts into bags, rags, yarn, plant ties and more, plus how to decide what to donate, upcycle or send to textile recycling.
-
 Zero Waste Home
How to Reduce Food Waste at Home: Plan, Store, Use Up
Where household food waste comes from, how to shop and store to prevent it, what date labels really mean, and how to use up scraps before composting.
-
 Zero Waste Home
12 Zero Waste Kitchen Swaps That Are Actually Easy to Keep Up
Simple replacements for the most common disposables in the kitchen, ordered from easiest to more committed, and the habits that make them stick.