
Vermicomposting for Beginners: How to Set Up and Run a Worm Bin
A worm bin turns kitchen scraps into rich castings indoors or on a balcony. Here's how to build one, feed it, and keep it from smelling.
On this page
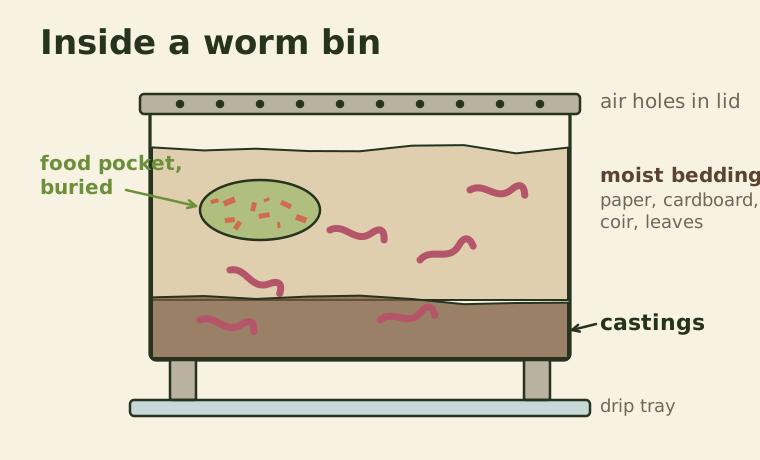
A worm bin is the best way to compost if you live in an apartment, have no yard, or simply want rich fertilizer for houseplants and containers. Composting worms eat their way through vegetable scraps and produce castings, a fine, dark material that improves soil structure and feeds plants gently. A well-run bin does not smell and can live in a kitchen, a closet, a garage or a shaded balcony.
Which worms to use
Not every earthworm will work. The common garden earthworm lives deep in soil and does poorly in a box. You need surface-dwelling composting worms that live in leaf litter.
- Red wigglers (Eisenia fetida) are the standard choice. They tolerate a wide temperature range, breed quickly and are sold by worm farms and garden centers.
- European nightcrawlers (Eisenia hortensis) are larger and also work well, though they reproduce more slowly.
Start with around 500 grams of worms, which is roughly 1,000 adult red wigglers. That population can handle about 250 grams of scraps per day once it settles in, and it will grow to match the food supply over time.
Build or buy a bin
Commercial stacking bins with several trays make harvesting easy, but a homemade bin works just as well.
A simple DIY bin
- Take an opaque plastic storage tub of 40 to 60 liters. Worms avoid light, so clear tubs are a poor choice.
- Drill 15 to 20 holes about 6 millimeters wide in the lid and upper sides for air.
- Drill a few small holes in the bottom for drainage, and set the tub on bricks over a tray to catch any liquid.
- Keep the lid on. It holds moisture and keeps the inside dark.
Shallow and wide is better than deep and narrow. Composting worms feed in the top 20 to 30 centimeters, so surface area matters more than depth.
Prepare the bedding
Bedding is the worms' home and the "brown" part of the system. It holds moisture, gives them air and balances the wet food scraps.
Good bedding materials include shredded newspaper, torn plain cardboard, coco coir, dry leaves and a little aged compost. Mix several of them together for the best texture. Soak the bedding in water, then squeeze it until it is as damp as a wrung-out sponge. Fill the bin about two-thirds full with loose, fluffy bedding and add a handful of garden soil, which provides grit the worms use to grind food.
Add the worms on top. They will burrow down within minutes to get away from the light.
What and how to feed
Good foods: vegetable peels, fruit scraps, coffee grounds and filters, tea leaves, crushed eggshells, plain cooked rice or pasta in small amounts, and stale bread in small amounts.
Avoid: meat, fish, dairy, oily foods, and large amounts of citrus peel, onion and garlic. Spicy foods and salty leftovers are also best kept out.
Feed in "pockets". Pull back the bedding in one corner, add the scraps, and cover them again with a few centimeters of bedding. Next time, use a different corner. This keeps fruit flies away and lets you check whether the last meal has been eaten.
| Week | How much to feed (for 500 g of worms) | What to watch for |
|---|---|---|
| 1 | One small handful, once | Worms settling in, none escaping |
| 2–3 | About 100 g every 2–3 days | Previous food mostly gone |
| 4 onward | Up to about 250 g per day, in batches | Steady population, no sour smell |
Chop scraps small or freeze and thaw them first. Freezing breaks cell walls and makes food easier for the microbes and worms to process.
Keep conditions comfortable
- Temperature: 15 to 25 °C is ideal. Red wigglers survive from about 5 to 30 °C, but they slow down at the edges of that range. Keep the bin out of direct sun.
- Moisture: The bedding should feel like a wrung-out sponge. If it is soggy, add dry shredded paper. If it is dry, mist it with water.
- Air: Fluff the bedding with a hand fork once a week to prevent compacted, airless pockets.
Troubleshooting
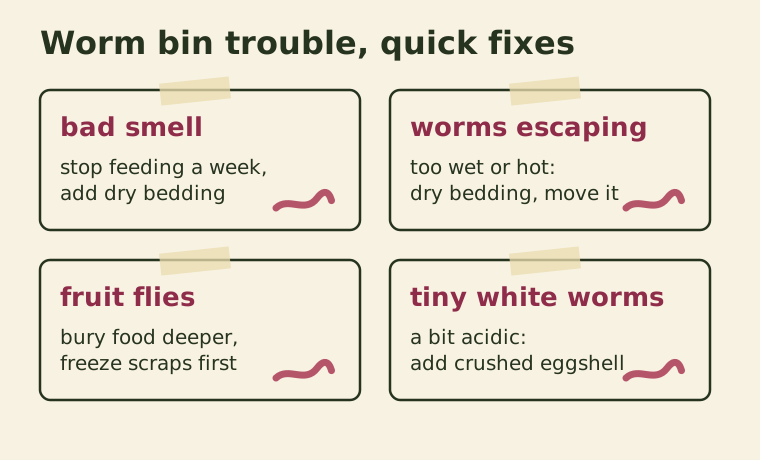
Bad smell: Too much food or too wet. Stop feeding for a week, remove obvious rotting food and add dry bedding.
Worms crawling up the walls: Conditions are wrong, usually too wet, too acidic or too hot. Add dry bedding and some crushed eggshells, and move the bin somewhere cooler. In the first few days, leaving a light on overnight keeps new worms in the bin.
Fruit flies: Bury food deeper, keep a thick layer of dry bedding on top, and freeze scraps before adding them.
Small white worms: These are usually potworms, harmless relatives that thrive when the bin is a little acidic. Their presence means you can cut back on citrus and add eggshells.
Harvest the castings
After three to four months the bin will be mostly dark castings with little visible bedding. The simplest way to harvest is migration.
- Push all the material to one side of the bin.
- Add fresh bedding and food to the empty side.
- Wait two to four weeks. Most worms will move to the new food.
- Scoop out the finished castings from the old side.
In a stacking system, you add a new tray on top with fresh bedding and food, and the worms climb up through the holes.
Using worm castings
Castings are gentle enough to use generously without burning roots. Mix them into potting soil at about 10 to 20 percent of the volume, top-dress houseplants with a thin layer, or add a spoonful to each planting hole for seedlings. They work especially well in containers and balcony herb gardens, where every bit of soil quality counts.
The liquid that drains from the bottom is often called "worm tea" but it is really leachate, and it can contain partly decomposed material. Dilute it at least 1 to 10 with water and use it on ornamental plants rather than leafy greens you plan to eat raw.
A worm bin takes a few weeks to find its rhythm. After that it needs about five minutes a few times a week, and it quietly turns a bag of kitchen waste into some of the best soil amendment you can get.
Keep reading
-
 Small-Space Gardening
How to Grow a Balcony Herb Garden That Lasts All Year
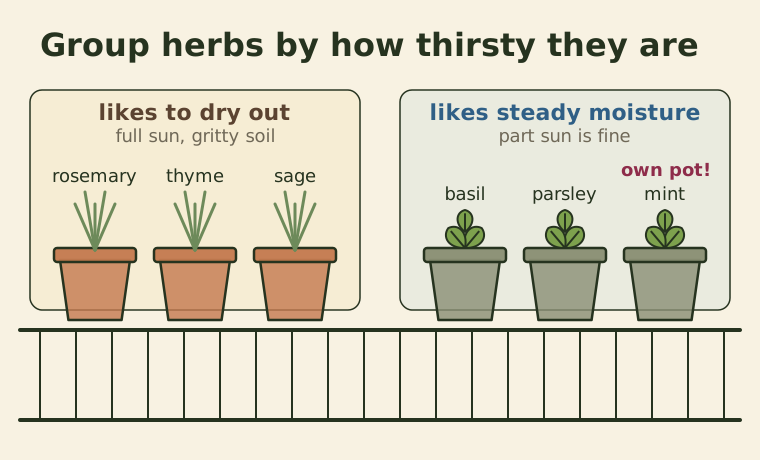
Which herbs suit sun, shade and wind, how to group them by water needs, and how to harvest so plants keep producing instead of fading.
-
 Composting
The Green and Brown Compost Ratio, Explained Without the Math Headache
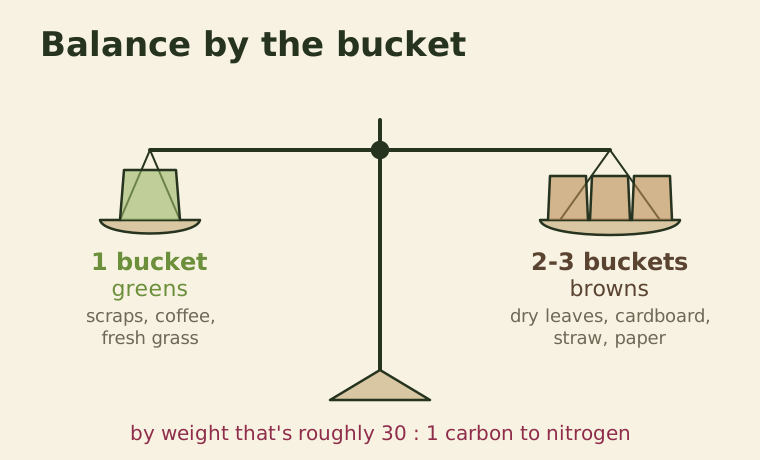
Why the 30:1 carbon to nitrogen number confuses people, how to translate it into buckets, and how to fix a pile that smells or won't heat up.
-
 Composting
How to Start Composting at Home: A Beginner's Setup That Actually Works
Choose a bin, find the right spot, learn the two ingredients that matter, and get your first finished compost in three to six months.