
How to Make a Self-Watering Planter From a Plastic Bottle
A step-by-step build for a wicking bottle planter, with the right wick materials, what to grow in it, and how to keep it from going green or moldy.
On this page
A self-watering planter keeps soil evenly moist by drawing water up from a reservoir through a wick. It is ideal for herbs and salad greens on a windowsill, for people who travel, and for anyone who tends to forget watering. This version uses a single plastic bottle and a strip of old fabric, and takes about fifteen minutes to make.
How wicking works
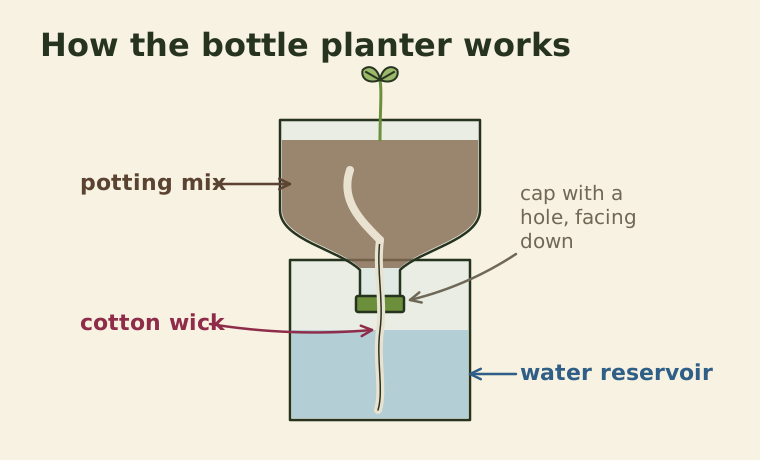
Water moves through fabric and soil by capillary action, the same effect that lets a paper towel soak up a spill. When the soil dries, it pulls more water up the wick. When the soil is moist, the flow slows down. The result is steady moisture without waterlogging, which is exactly what most herbs and leafy greens want.
What you need
- A clean plastic bottle of 1.5 to 2 liters. Thicker, rigid bottles are easier to cut.
- A strip of cotton or wool fabric about 2 centimeters wide and 20 centimeters long. Old t-shirts, socks or cotton shoelaces work. Synthetic fabrics wick poorly.
- A utility knife or sharp scissors.
- A nail or skewer, heated, or a small drill bit.
- Potting mix, with a handful of perlite or coco coir mixed in.
- A seedling or seeds.
- Optional: a paper bag, paint or tape to cover the reservoir.
Step-by-step
- Clean the bottle and remove the label.
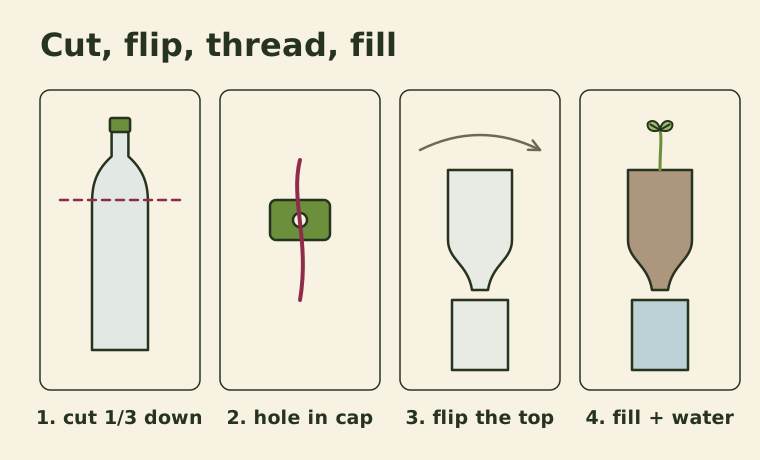
- Cut it in two about one-third of the way down from the top, just below where the shoulder curves in. The top section will hold soil and the base will hold water.
- Make a hole in the cap about 5 to 8 millimeters wide using a heated nail or drill bit. Be careful with hot metal and do this in a ventilated space.
- Thread the wick through the cap so that about 8 centimeters hangs below and the rest sits above. Tie a knot above the cap if it slips.
- Screw the cap back on and turn the top section upside down, so the neck points into the base.
- Check the fit. The neck should sit above the bottom of the base, with the hanging wick reaching close to the bottom.
- Fill the top section with damp potting mix, coiling the upper part of the wick inside the soil rather than leaving it pressed against the side.
- Plant your seedling or sow seeds.
- Water from the top the first time until water drips through into the reservoir. This starts the wick.
- Fill the base with water to a level just below the neck.
What to grow
The planter holds a small amount of soil, so choose compact plants with moderate water needs.
| Works well | Avoid |
|---|---|
| Basil, parsley, chives, mint | Rosemary, thyme, lavender (they prefer to dry out) |
| Lettuce, arugula, spinach | Tomatoes, peppers, squash (too big) |
| Green onions, microgreens | Succulents and cacti (too much moisture) |
| Pothos and other easy houseplants | Plants with deep taproots |
Herbs that like dry roots, such as rosemary and thyme, are better in a terracotta pot, as explained in our balcony herb garden guide.
Care and maintenance
Refill the reservoir when the water level drops close to the end of the wick. In warm weather that might be every few days; in cool weather once a week or less.
Flush once a month by watering from the top until water runs through, then empty and refill the reservoir with fresh water. This prevents a buildup of salts from fertilizer and tap water.
Feed lightly. Add a very diluted liquid fertilizer to the reservoir every two to three weeks, at about half the normal strength. Compost tea diluted 1 to 3 works well.
Stop algae. Light reaching the water in a clear bottle encourages green algae, which can smell and clog the wick. Wrap the base with paper, tape, an old sock or paint it a dark color.
Troubleshooting
Soil stays dry even though the reservoir is full. The wick may be too thin, synthetic or not touching enough soil. Replace it with a thicker cotton strip and make sure the top part is buried in the mix. Water from above to restart the flow.
Soil is soggy and smells. The wick is too thick for the plant, or the reservoir is too full and touching the neck. Lower the water level so only the wick reaches it.
Fungus gnats. These tiny flies breed in constantly wet soil surfaces. Add a thin layer of sand or fine grit on top of the soil and let the surface dry slightly.
Make it bigger
The same principle works at a larger scale. Two food-grade buckets nested inside each other, with a wicking cup or a fabric wick between them and an overflow hole drilled in the outer bucket, make a self-watering container big enough for tomatoes and peppers. A vertical row of bottle planters can also be hung on a wall, as described in our recycled vertical garden guide.
A bottle planter will not last forever. Plastic in sunlight becomes brittle after a season or two. When that happens, recycle the bottle if your local program accepts it, and make a new one with the next bottle that comes into the house.
Keep reading
-
 Small-Space Gardening
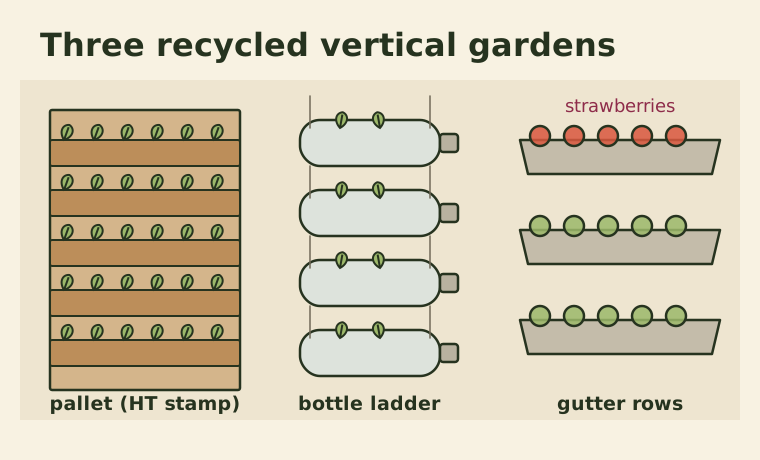
Build a Vertical Garden From Recycled Materials: Pallets, Bottles and Gutters
Three vertical garden builds using reclaimed materials, with what to grow in each, how to water them, and the safety checks to do first.
-
 Small-Space Gardening
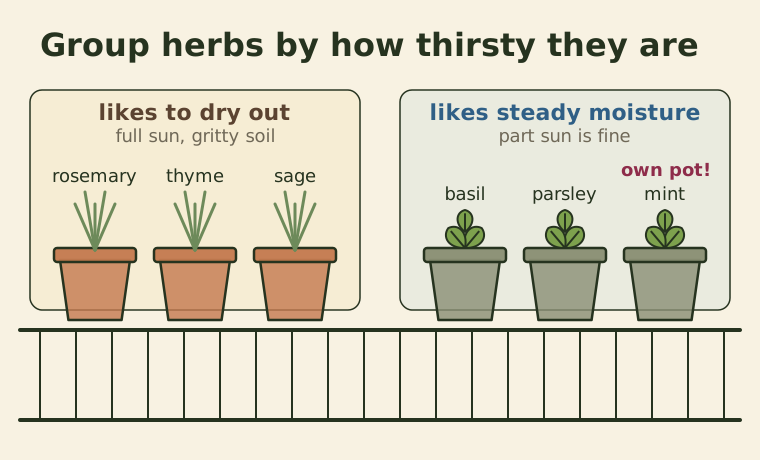
How to Grow a Balcony Herb Garden That Lasts All Year
Which herbs suit sun, shade and wind, how to group them by water needs, and how to harvest so plants keep producing instead of fading.
-
 Small-Space Gardening
Growing Vegetables in Containers: Pot Sizes, Soil Mix and Watering
How big each pot should be, how to mix a potting soil that doesn't compact, and a watering routine that keeps container crops healthy.