
How to Grow Microgreens on a Windowsill in 7 to 14 Days
The easiest crop for an apartment. Which seeds to use, a tray setup from reused containers, daily care, harvesting and how to avoid mold.
On this page
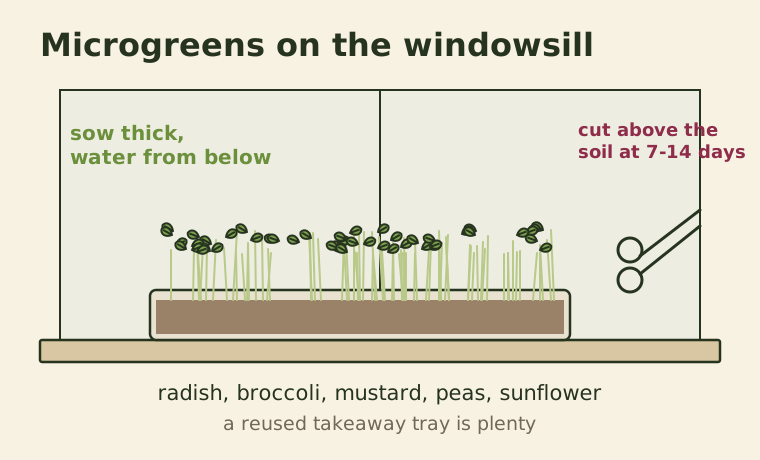
Microgreens are the young seedlings of vegetables and herbs, harvested when they have their first set of leaves, usually 7 to 14 days after sowing. They are one of the fastest and most space-efficient crops you can grow, need no garden, and work on any bright windowsill. A single tray can produce a few generous handfuls of greens with intense flavor.
They are also a good way to reuse shallow containers, such as takeaway trays, mushroom punnets and clamshell boxes, that would otherwise go in the recycling.
Microgreens, sprouts and baby greens
- Sprouts are germinated seeds grown in water, usually in a jar, and eaten whole, root and all, after a few days.
- Microgreens are grown in soil or a growing mat, in light, and cut above the soil once the first leaves (cotyledons) open.
- Baby greens are left longer, until true leaves develop, usually three to four weeks.
Microgreens are grown in light and cut above the root, which makes them less prone to the bacterial problems that sprouts can have, though basic hygiene still matters.
Best seeds for beginners
| Seed | Days to harvest | Flavor | Notes |
|---|---|---|---|
| Radish | 7–10 | Peppery, spicy | Fastest and most reliable |
| Broccoli | 8–12 | Mild, cabbage-like | Popular and easy |
| Mustard | 8–12 | Hot, like wasabi | Grows fast |
| Arugula | 8–12 | Nutty, peppery | Tiny seeds, sow on the surface |
| Pea shoots | 10–14 | Sweet, fresh pea | Soak seeds overnight first |
| Sunflower | 8–12 | Nutty, crunchy | Soak overnight; remove shells |
| Kale | 8–12 | Mild | Good in salads |
| Basil | 14–21 | Strong basil | Slower, needs warmth |
Start with radish, broccoli or a radish-broccoli mix. They are forgiving and quick.
What you need
- A shallow container 3 to 5 centimeters deep, with a few drainage holes. Takeaway trays and mushroom punnets work well. Put a second tray without holes underneath to catch water.
- Growing medium: fine potting mix, seed-starting mix or coco coir. About 2 to 3 centimeters is enough.
- Seeds.
- A spray bottle for misting.
- A cover: another tray, a plate or a piece of cardboard.
- Light: a bright windowsill or a small LED light.
Step-by-step
- Prepare the medium. Fill the tray with 2 to 3 centimeters of moist mix and press it flat and level with your hand.
- Soak large seeds. Peas and sunflowers should be soaked in water for 8 to 12 hours first. Small seeds do not need soaking.
- Sow thickly. Scatter seeds evenly so they almost touch but do not pile up. Microgreens are sown far more densely than normal crops.
- Press seeds in gently. Mist the surface well.
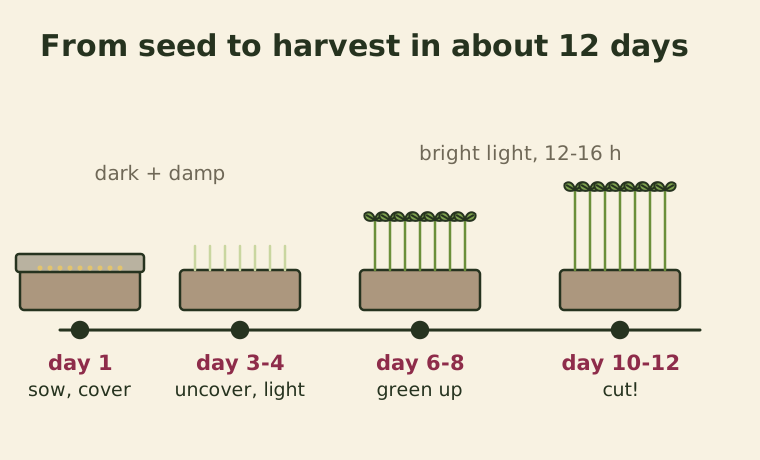
- Blackout period. Cover the tray with another tray or plate for 2 to 4 days. The darkness and slight weight encourage strong roots and even germination. Mist once a day under the cover.
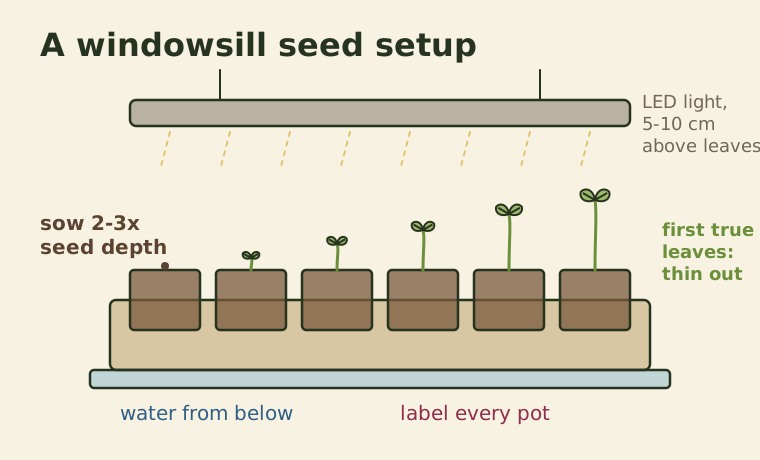
- Uncover and give light once most seeds have sprouted and the shoots are pale and a few centimeters tall. Place the tray on your brightest windowsill, or 10 to 15 centimeters under an LED light for 12 to 16 hours a day.
- Water from below by pouring water into the bottom tray, so the leaves stay dry. Check daily.
- Turn the tray daily on a windowsill so the greens grow straight rather than leaning toward the glass.
Harvesting
Harvest when the first pair of leaves (cotyledons) has fully opened and turned green, usually 5 to 10 centimeters tall. For most seeds that is 7 to 14 days after sowing.
- Hold a bunch of greens gently.
- Cut just above the soil with clean scissors.
- Rinse briefly if needed and pat dry.
- Eat fresh or store in a container lined with a dry cloth in the fridge for up to five days.
Most microgreens do not regrow after cutting. Pea shoots sometimes give a second, smaller harvest if you cut above the lowest leaves.
After harvest
Scrape the root mat and used soil into the compost bin or a worm bin, where it breaks down quickly. Wash the tray in hot soapy water before the next batch. For a continuous supply, sow a new tray every four to five days.
Troubleshooting
Fuzzy white growth at the base. Check first whether it is root hairs, which are fine, white and appear on the roots of radish and broccoli in particular. Root hairs disappear when misted. Mold looks like cobwebs spreading across seeds and soil, often with a musty smell, and does not disappear when misted.
Mold. Caused by too much water, poor airflow or sowing too thickly. Water from below, give the tray a little air circulation with a fan or open window, and sow slightly less densely. Discard trays with significant mold.
Tall, pale, floppy greens. Not enough light. Move to a brighter spot or add an LED light closer to the tray.
Uneven germination. The soil surface was uneven or dried out during the blackout. Level the mix well and mist daily under the cover.
Why bother?
Microgreens give you a fresh harvest every week in the middle of winter, on a windowsill, with no garden. They use very little water, reuse packaging, and produce no food miles at all. Studies have also found that many microgreens contain higher concentrations of some vitamins and antioxidants than the mature plants, although you eat them in much smaller amounts.
If microgreens get you hooked, take the next step with a balcony herb garden or a few containers of vegetables.
Keep reading
-
 Growing Food
Regrow Vegetables From Kitchen Scraps: What Works and What's Just a Nice Idea
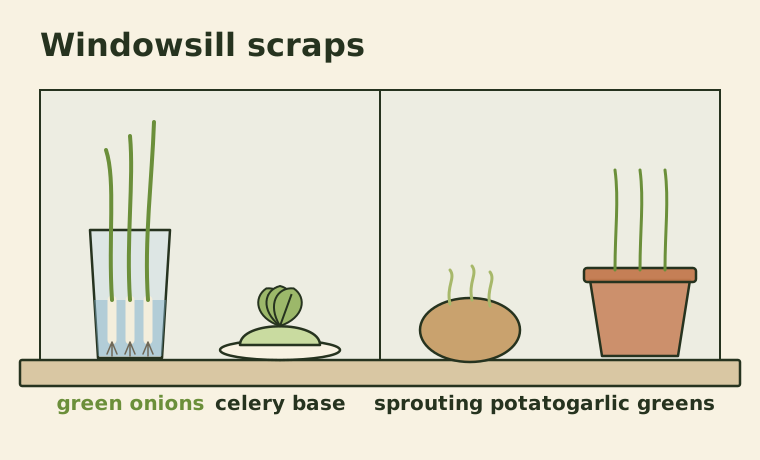
Green onions, lettuce, celery, garlic, potatoes and more. Which scraps really regrow into food, how to do it, and what to expect from each.
-
 Small-Space Gardening
How to Grow a Balcony Herb Garden That Lasts All Year
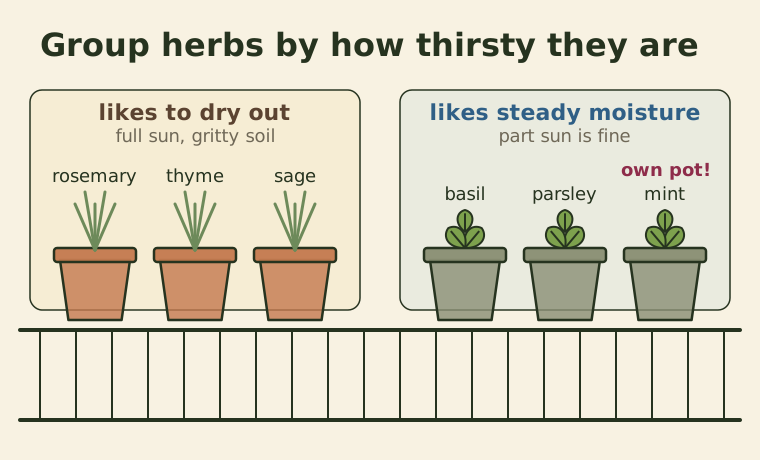
Which herbs suit sun, shade and wind, how to group them by water needs, and how to harvest so plants keep producing instead of fading.
-
 Growing Food
How to Start Seeds Indoors: From Tray to Transplant
Containers, seed-starting mix, light, water and timing. A step-by-step guide to raising strong vegetable seedlings on a windowsill or under a lamp.